Ultimate DIY Gift Project: Bookmark with Cricut
Hey there, fellow book lover! Are you ready to add a splash of personality to your reading routine?
This step-by-step tutorial was highly requested on both IG & TikTok. So here it is!
I'm sharing all the fun and easy steps to create your own DIY bookmarks using Cricut, our bookmark SVG & vinyls. 🎨✨
Step 1: Design Delights: Pick Your Perfect Design!
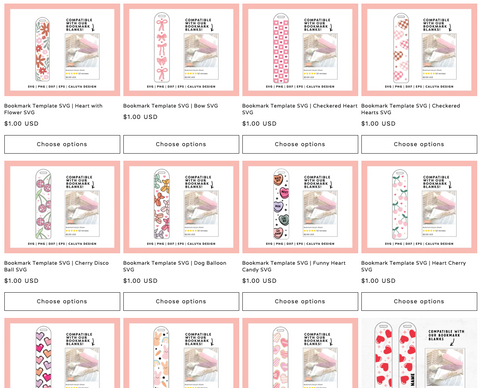
First things first, let's pick out your favorite bookmark design!
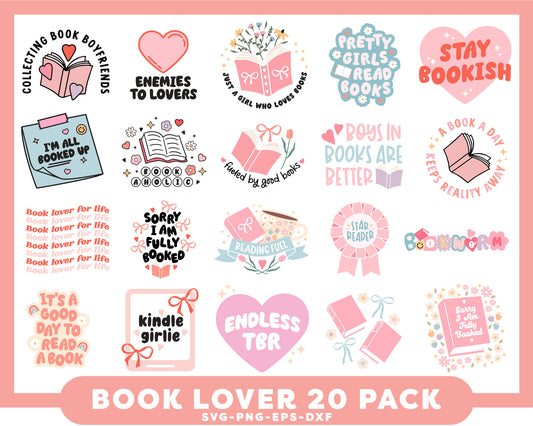
Guess what? When you snag our bookmark blanks, you get exclusive access to our entire collection of bookmark SVG files (including future designs) – talk about a crafting jackpot! 🎁
Pick a design, download and simply upload your chosen design to Cricut Design Space and let the creativity flow- but in this process, MAKE SURE to upload SVG file, NOT other extensions.
Links:
BOOKMARK SVG & BOOKMARK BLANKS
Step 2: Vinyl Vibes: Cutting Colors with Cricut Magic!
Now it's time to bring your design to life with vibrant vinyl colors!
Whether you're a pro at cutting multiple colors at once (hello, time-saving hack!) or prefer the mat by mat feature, your Cricut will work its magic to create stunning vinyl pieces ready to jazz up your bookmarks. 🌈✂️
Upload the SVG of your design, then go ahead and click "Ungroup" until you have every element separated by colors.
Next, delete the elements you are not using, leaving only the elements you wish to cut. Then, color by color, click "Attach" so these won't appear scattered around when you hit "Make" in the next process. 🎨✂️
After attaching each element, change the color to one color so all of them appear on the same mat. Then, move them around to ensure there's enough space between each element (color).

On the actual mat, place vinyls covering the area and assign colored vinyl according to the placement you set on the Design Space.

This is how I cut multiple colors in one go. I hope this makes sense - if you watch the tutorial video, it will make more sense, so I strongly recommend you to watch it!
If you are not comfortable using this technique yet, you can easily opt out and cut colors by mat feature by keeping each element's colors, then follow Cricut's cutting instructions. 🌈🎨
Step 3: Layer Love: Bringing Your Design to Life!
Once your vinyls are ready to go, it's assembly time!
Grab your acrylic bookmark blanks (you can snag those from our website) and start layering those vinyls to create a masterpiece.✨
I strongly recommend printing out the PNG file (without changing the sizing) with your printer on the back of scrap paper and using it as a guideline. 🖨️📝

Place the acrylic bookmark on top of the guideline, then start assembling the vinyls you just cut. Always apply the background design first (in this case, the checkered designs should be placed first, then the flowers). 🌼🎨

Step 4: Finishing Flourishes: Adding That Extra Sparkle!
No DIY project is complete without a sprinkle of magic!
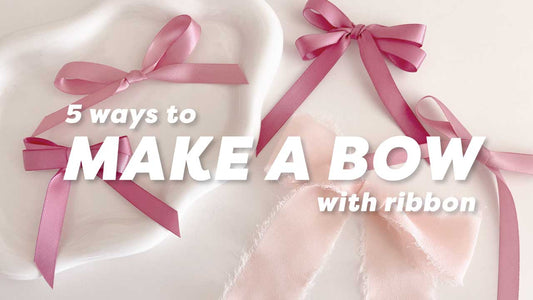
Jazz up your bookmarks with some cute accessories like chiffon ribbons or playful tassels. These little extras will give your bookmarks that extra oomph and make them truly unique! 🎀✨

And voila – your DIY bookmarks are ready to dazzle! Whether you're gifting them to a book-loving buddy or treating yourself to some crafting fun, these personalized creations are sure to bring joy to every page turn.
So grab your supplies, cue up your favorite playlist, and let's get crafting! 🎉📚
Again, you will get free access to 150+ bookmark SVGs when you purchase this bookmark acrylic blank from us- SHOP BLANKS FROM HERE