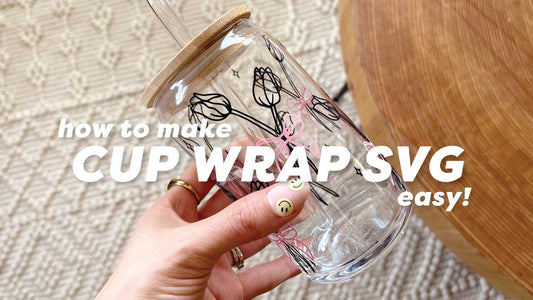
Can You Make Cup Wrap with Cricut?
Ever wondered how you can make your own cup wrap SVG?
Unfortunately, you will have a hard time designing and creating cup wraps with Cricut (Design Space is simply not ready for this type of creation), but that's why I am here for you.
Today, I'm thrilled to guide you through the joyous process of crafting your own unique glass can cup wrap SVG file! ( specifically for 16oz glass can cup ).
Whether you're a crafting veteran or just dipping your toes into the DIY scene, this blog is your go-to resource for unlocking your imagination and adding a personal touch to your favorite drinkware.
And guess what? We've got an exciting video tutorial to accompany your reading, ensuring that every step is as fun and engaging as can be.
So grab your beverage of choice, cozy up, and let's dive into this adventure of crafting magic together! 🎨✨
Click here for Adobe Illustrator 14-day Free Trial
-
Source and Trace Design
Start by browsing for commercial-free images online that inspire you. Once you've found the perfect image, trace it using a digital drawing app like Procreate on your iPad. This step allows you to digitize the design and customize it to your liking. -
Digitize Using Procreate
Utilize Procreate's intuitive tools to trace the photo and digitize it into a PNG format. Once you're satisfied with your design, export it as a PNG file and transfer it to your computer for further editing. -
Convert to SVG Format
Open Adobe Illustrator on your computer and import the PNG file. With Illustrator's powerful vector editing tools, convert the PNG file into an SVG format. This step ensures that your design is compatible with cutting machines like the Cricut.
If you don't already have Adobe Illustrator, don't worry – you can take advantage of their 14-day free trial to access all the features needed for this process. Simply download the trial version from Adobe's website and install it on your computer. CLICK HERE FOR FREE TRIAL -
Design Cup Wrap Template
Use a cup wrap template as a guide to create your cup wrap design. The standard cup wrap size is typically 9.45 x 4.33 inches, but you can adjust the dimensions to fit your specific cup or mug. Incorporate your digitized design into the template and save the file as an SVG. -
Upload to Cricut:
Now that your cup wrap design is ready, upload the SVG file to your Cricut Design Space. Adjust the settings according to the material you'll be using for your cup wrap, whether it's vinyl or another suitable material. -
Cut and Assemble:
Once the design is loaded into Cricut Design Space, follow the prompts to cut the design using your Cricut machine. After cutting, carefully weed the excess vinyl and transfer the design onto your cup or mug using transfer tape. Voila! Your custom cup wrap is ready to adorn your favorite drinkware.
With these simple steps, you can unleash your creativity and design unique cup wraps to elevate your beverage experience.
Whether you're crafting for yourself or creating personalized gifts for loved ones, the possibilities are endless. Cheers to creativity and happy crafting! 🎨🥤
Hope you learned something new today! Let me know in the comment section if you have any requests for crafty tutorials from me 🌸