Caluya Design
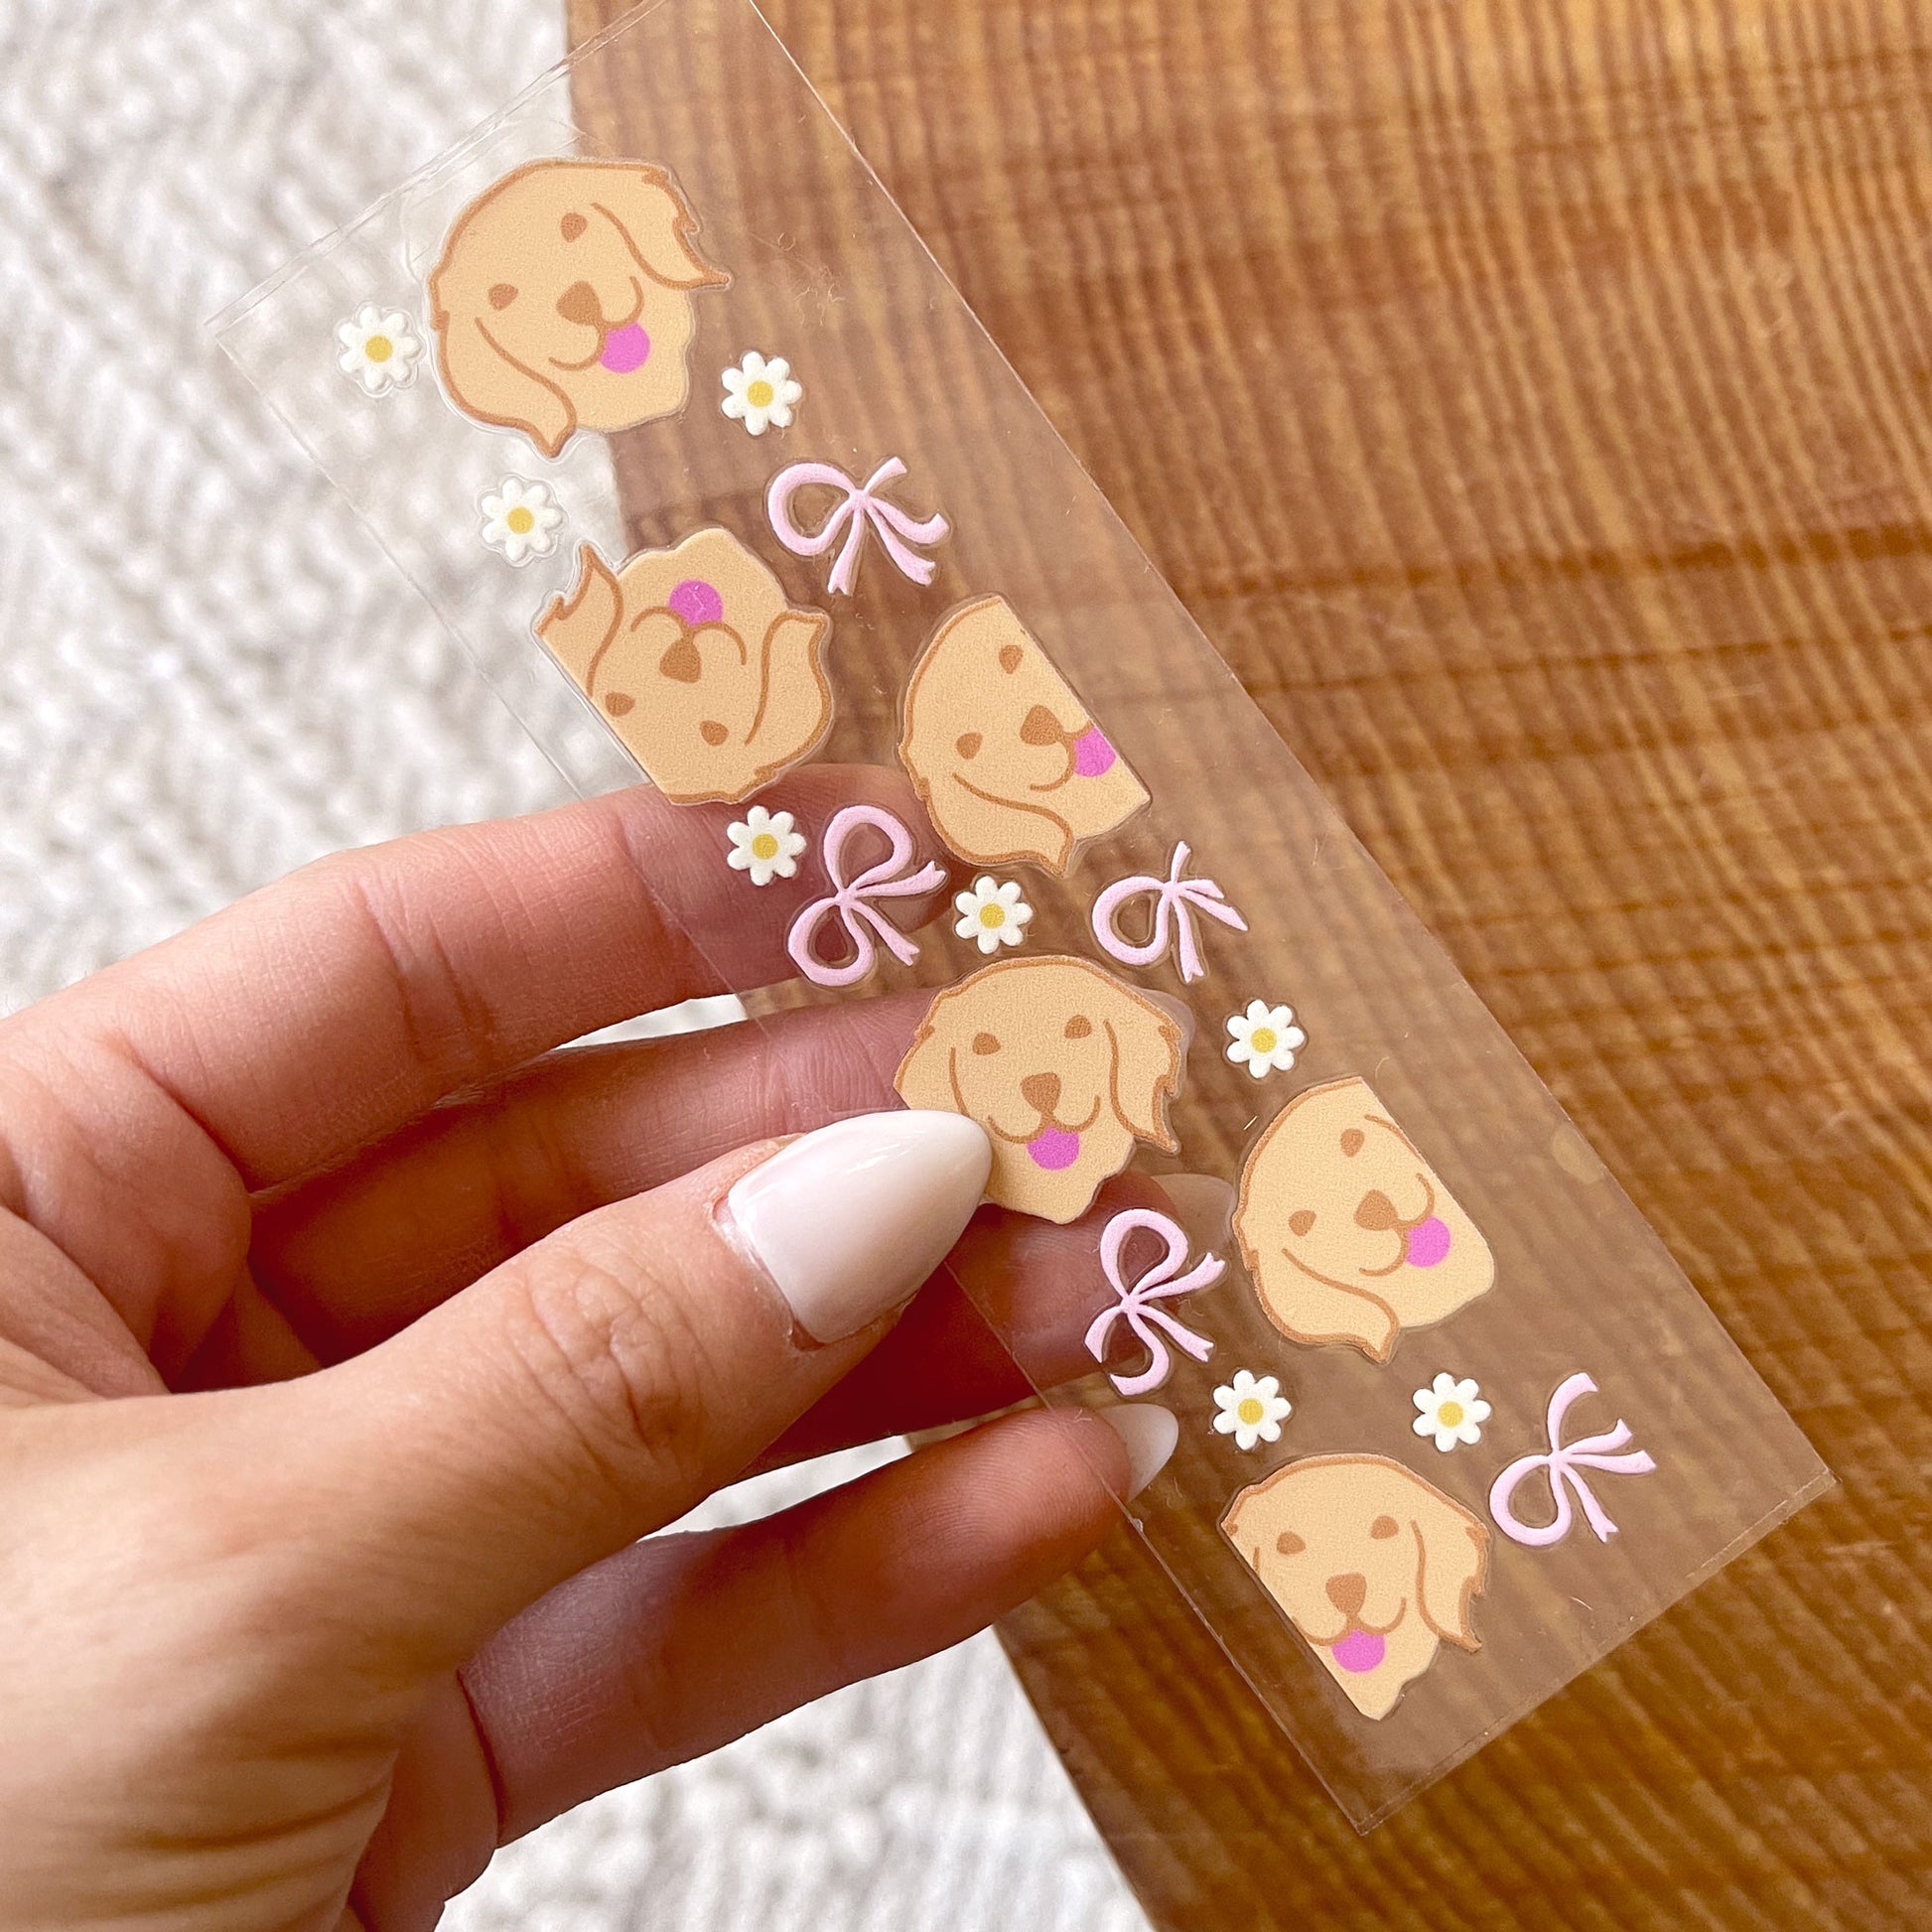
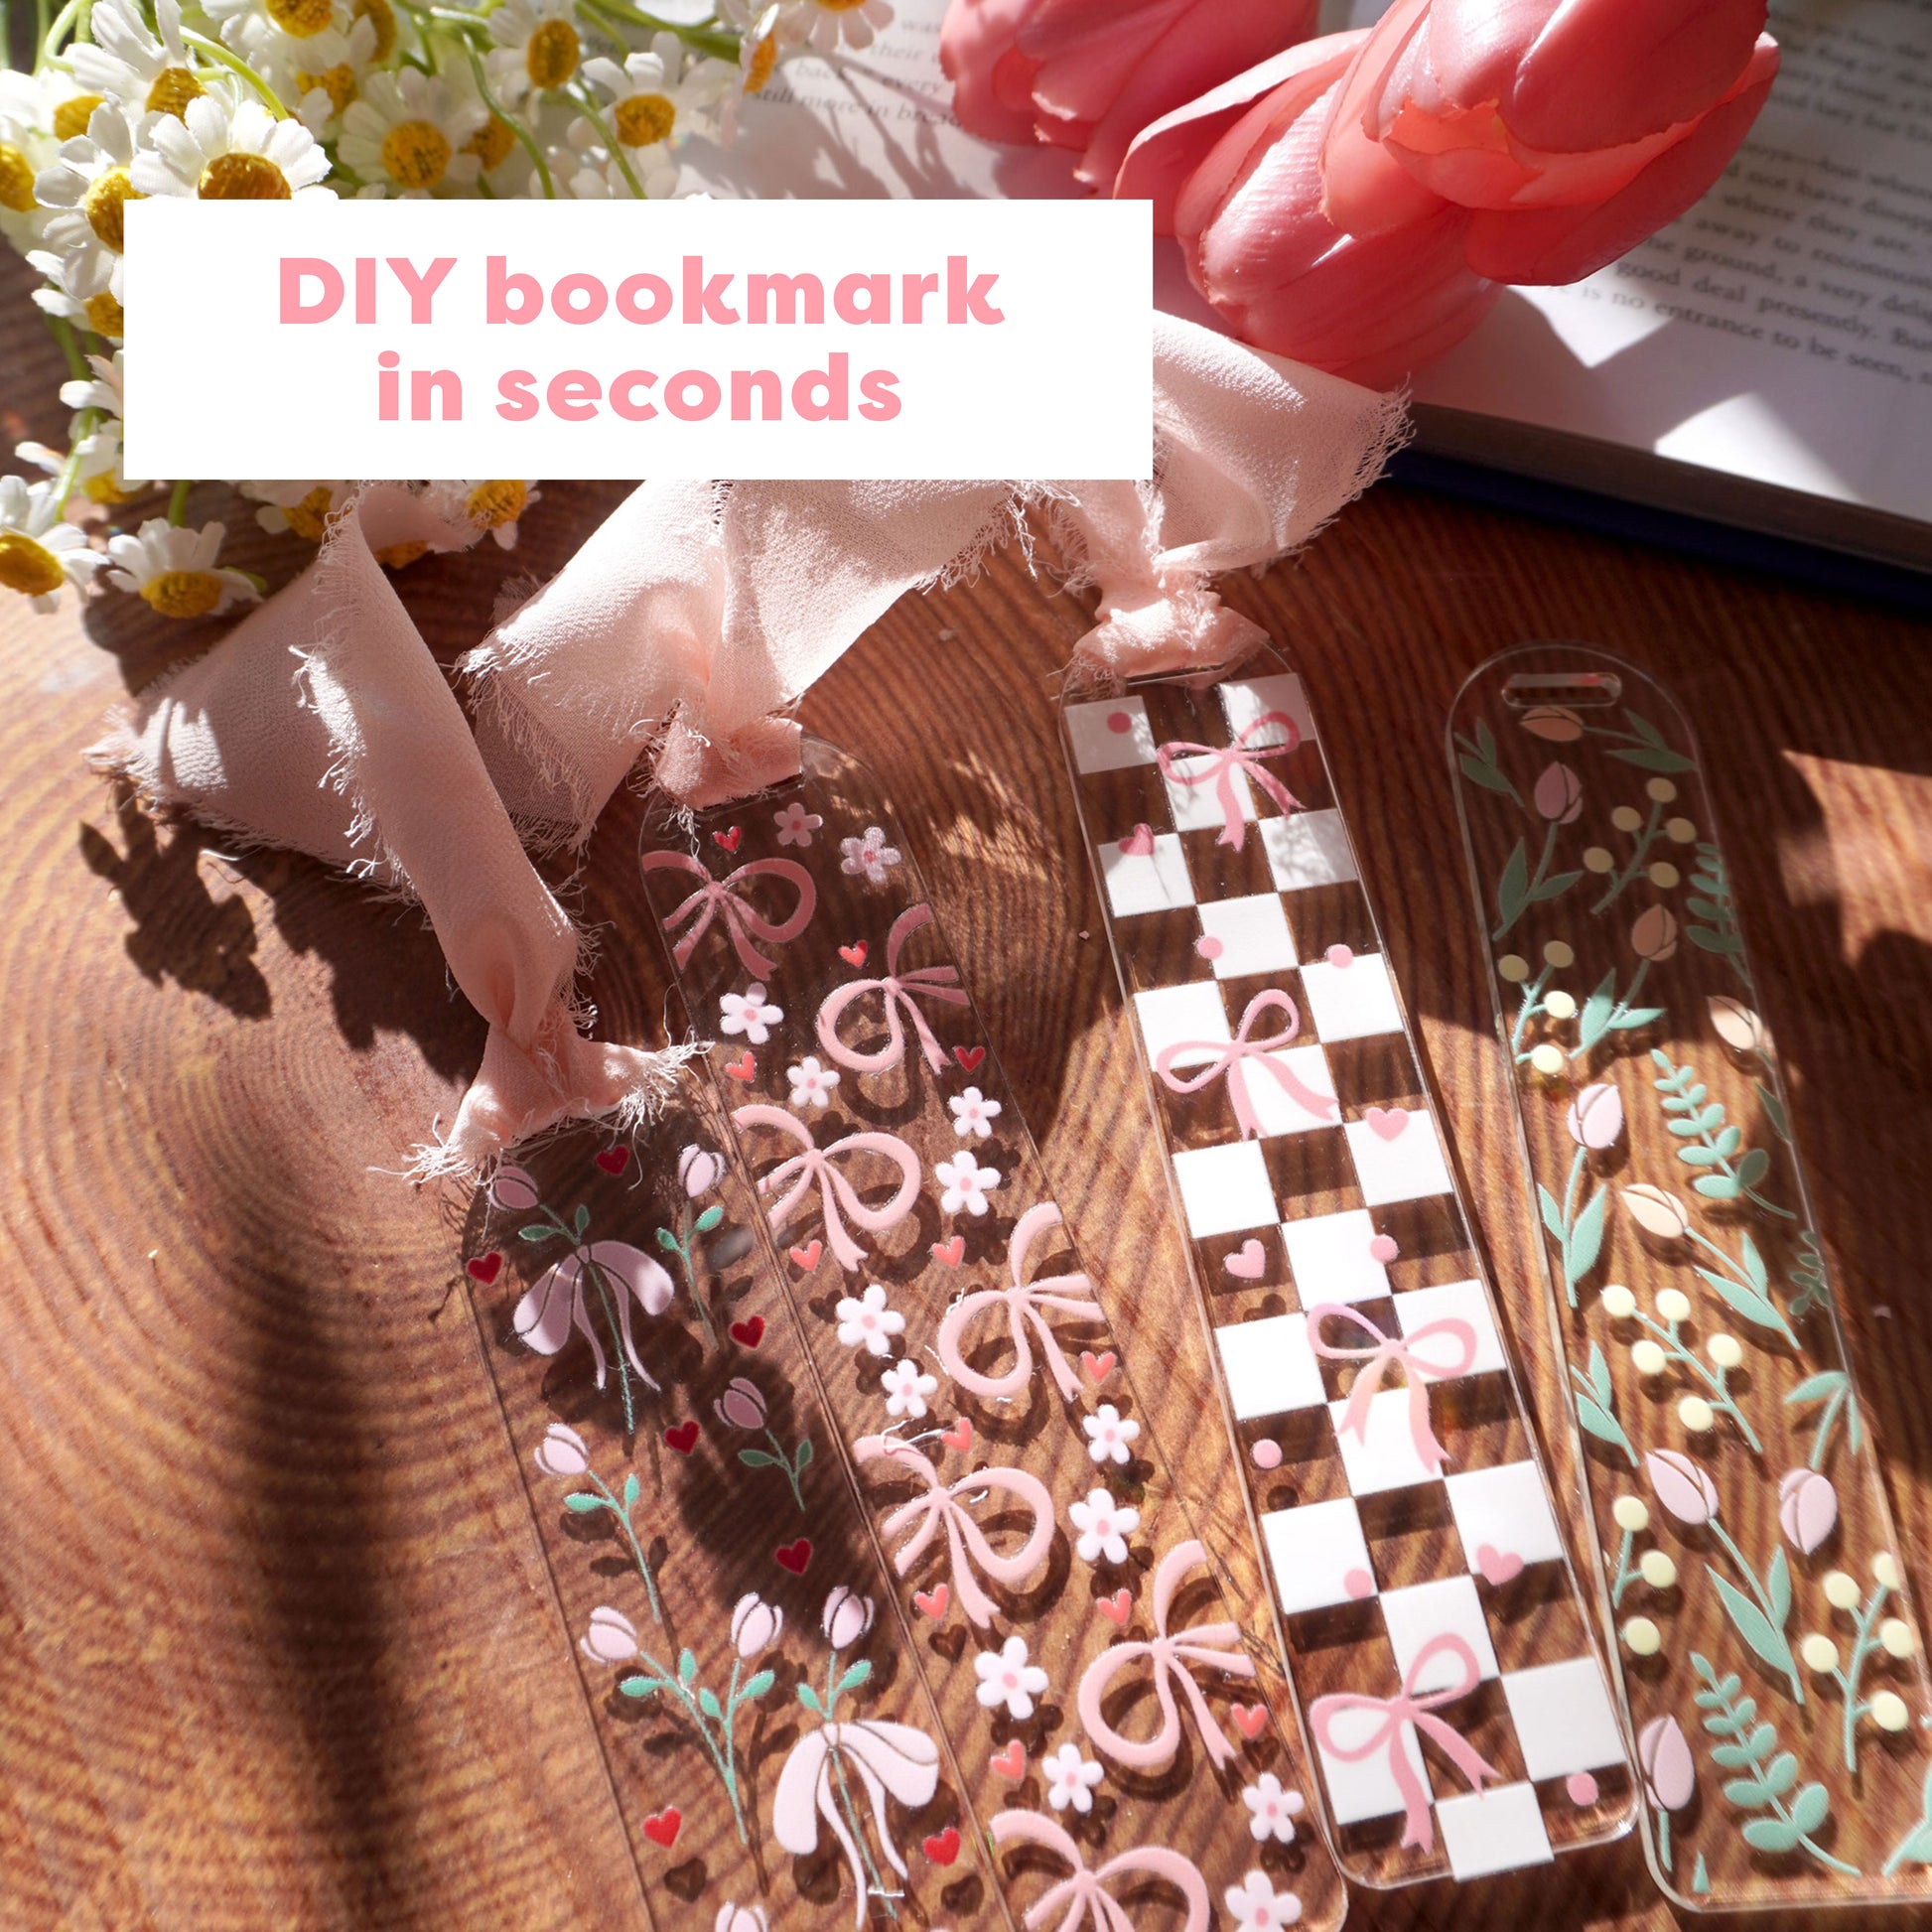
[ Double Sided ] Bookmark UV DTF Decal | Labrador Bow
[ Double Sided ] Bookmark UV DTF Decal | Labrador Bow
Couldn't load pickup availability
📖 Mark your spot in style with our [Double Sided] Labrador Bow UV DTF Decal—an adorable, easy, and fun way to DIY your own bookmark! 🐾✨
- WHAT IS UV DTF TRANSFER? -
UV DTF Transfer cuts your craft time by 80%. They are white ink-backed permanent decals designed for use on hard surfaces, including dark colors.
They have the following features:
- Double-sided print (design visible inside the cup as well!)
- Waterproof (do not soak)
- Scratch-proof
- 3D stereoscopic effect
- Durability with strong adhesive
* Although UV DTF decals are known for their durability, do not put them in a high-heat dishwashing cycle, as the heat might cause the decals to peel or become damaged.
- HOW DO I APPLY UV DTF TRANSFER? -
LEARN HOW TO APPLY FROM THIS BLOG
(Include video & written tutorial. Please refer this article for the application process, as we do not offer refund or exchange for application error.)
*Decals won't stick to cups that are made for sublimation project.
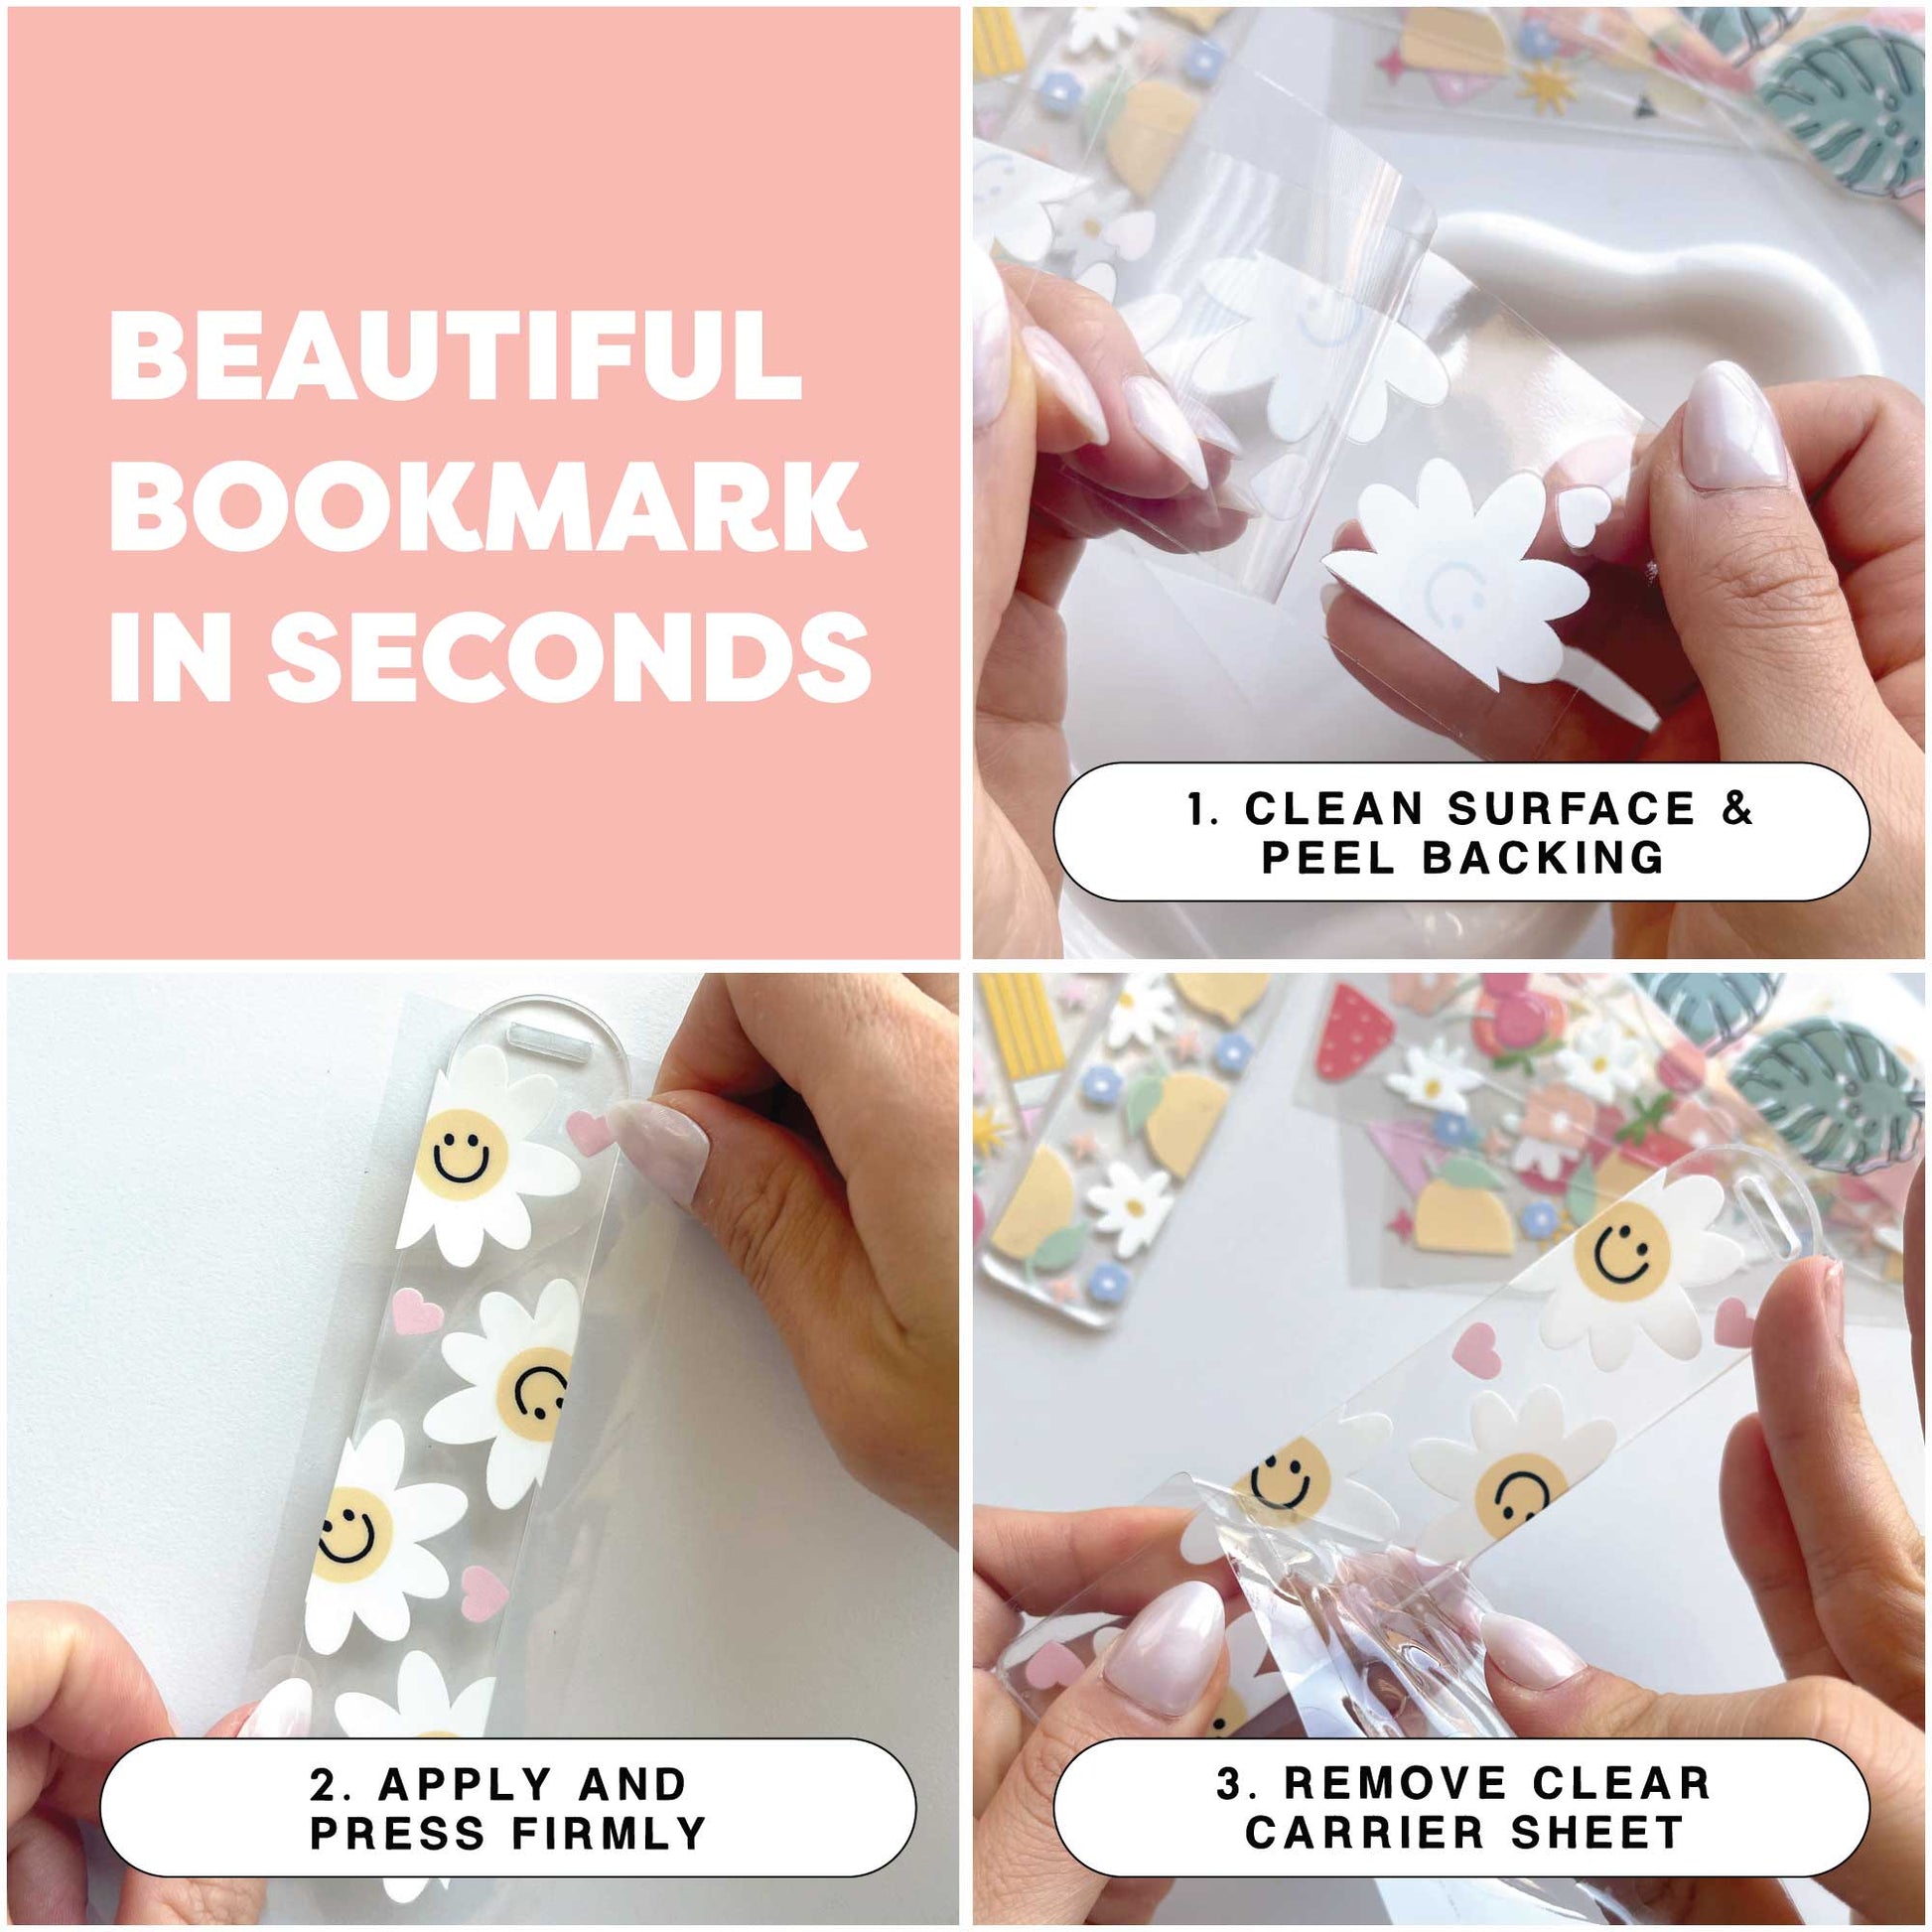
Step 1: Clean and Prep
- Start with a WASH with soapy water and dry cup or tumbler. Make sure the surface is free of dust and debris. DO NOT USE ALCOHOL.
- MAKE SURE TO WASH your cup(s) before, as many glass can cups are coated with oily substance and this will prevent for the decals to stick properly.
Step 2: Position and Secure
- Carefully align and place the UV DTF cup wrap decal onto the cup. Press the transfer down, working from the center outwards, pushing out any bubbles.
- Use the unexposed part to find a placement. Once you've positioned the decal, firmly press the exposed adhesive onto the glass cup to secure its placement. For a more detailed "mess-free" application process, please read this BLOG
Step 3: Remove Backing
- SLOWLY peel off the backing paper from the decal, ensuring it doesn't stretch or tear.
Step 4: Smooth & Press
- Use an application tool or your fingers to smooth out the decal, starting from the center and moving outward.
- Take your time (usually between 3-5 min) keep pressing and activate using your palm- more time you take to press and ensure the adhesive, easier the peeling process will be.
Step 5: Final Check
- Inspect for air bubbles or wrinkles. If needed, make any adjustments for a smooth, professional finish.
- Please note we are not responsible for UV DTF transfers that are applied incorrectly or damaged during application. No refund or exchange will be offered.
- PRODUCT DETAILS -
Material: DV DTF Transfer Decal
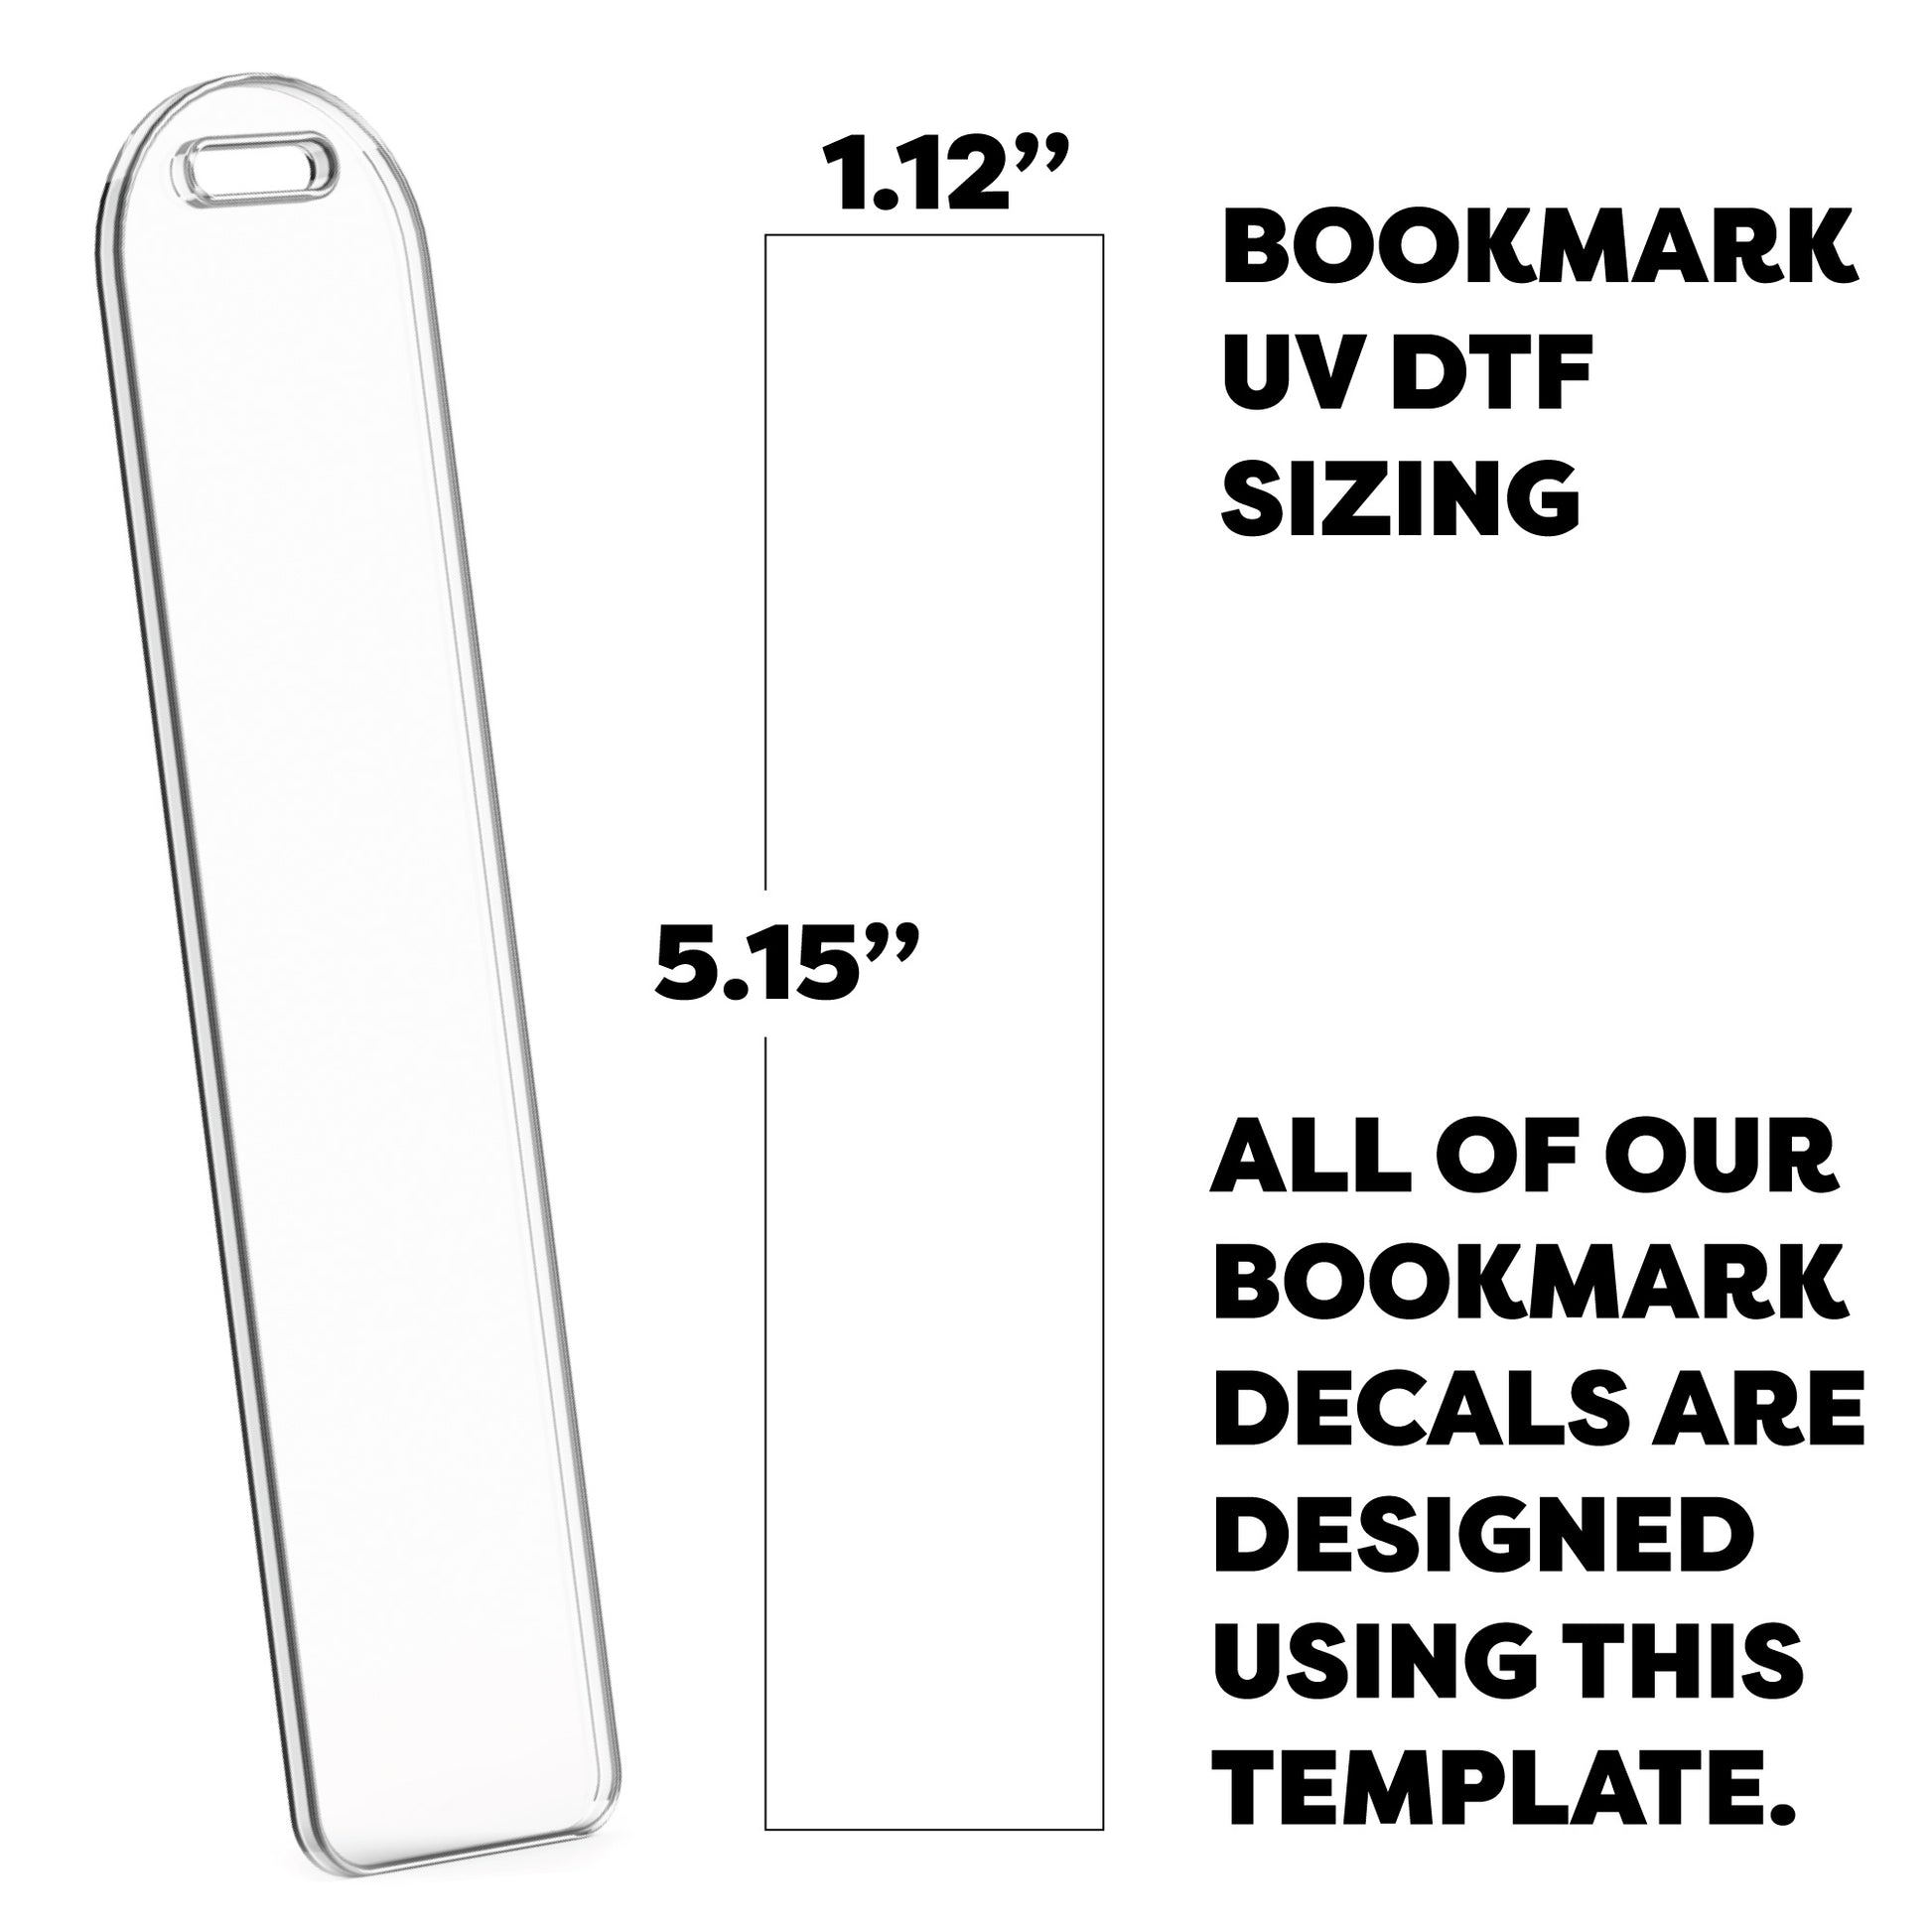
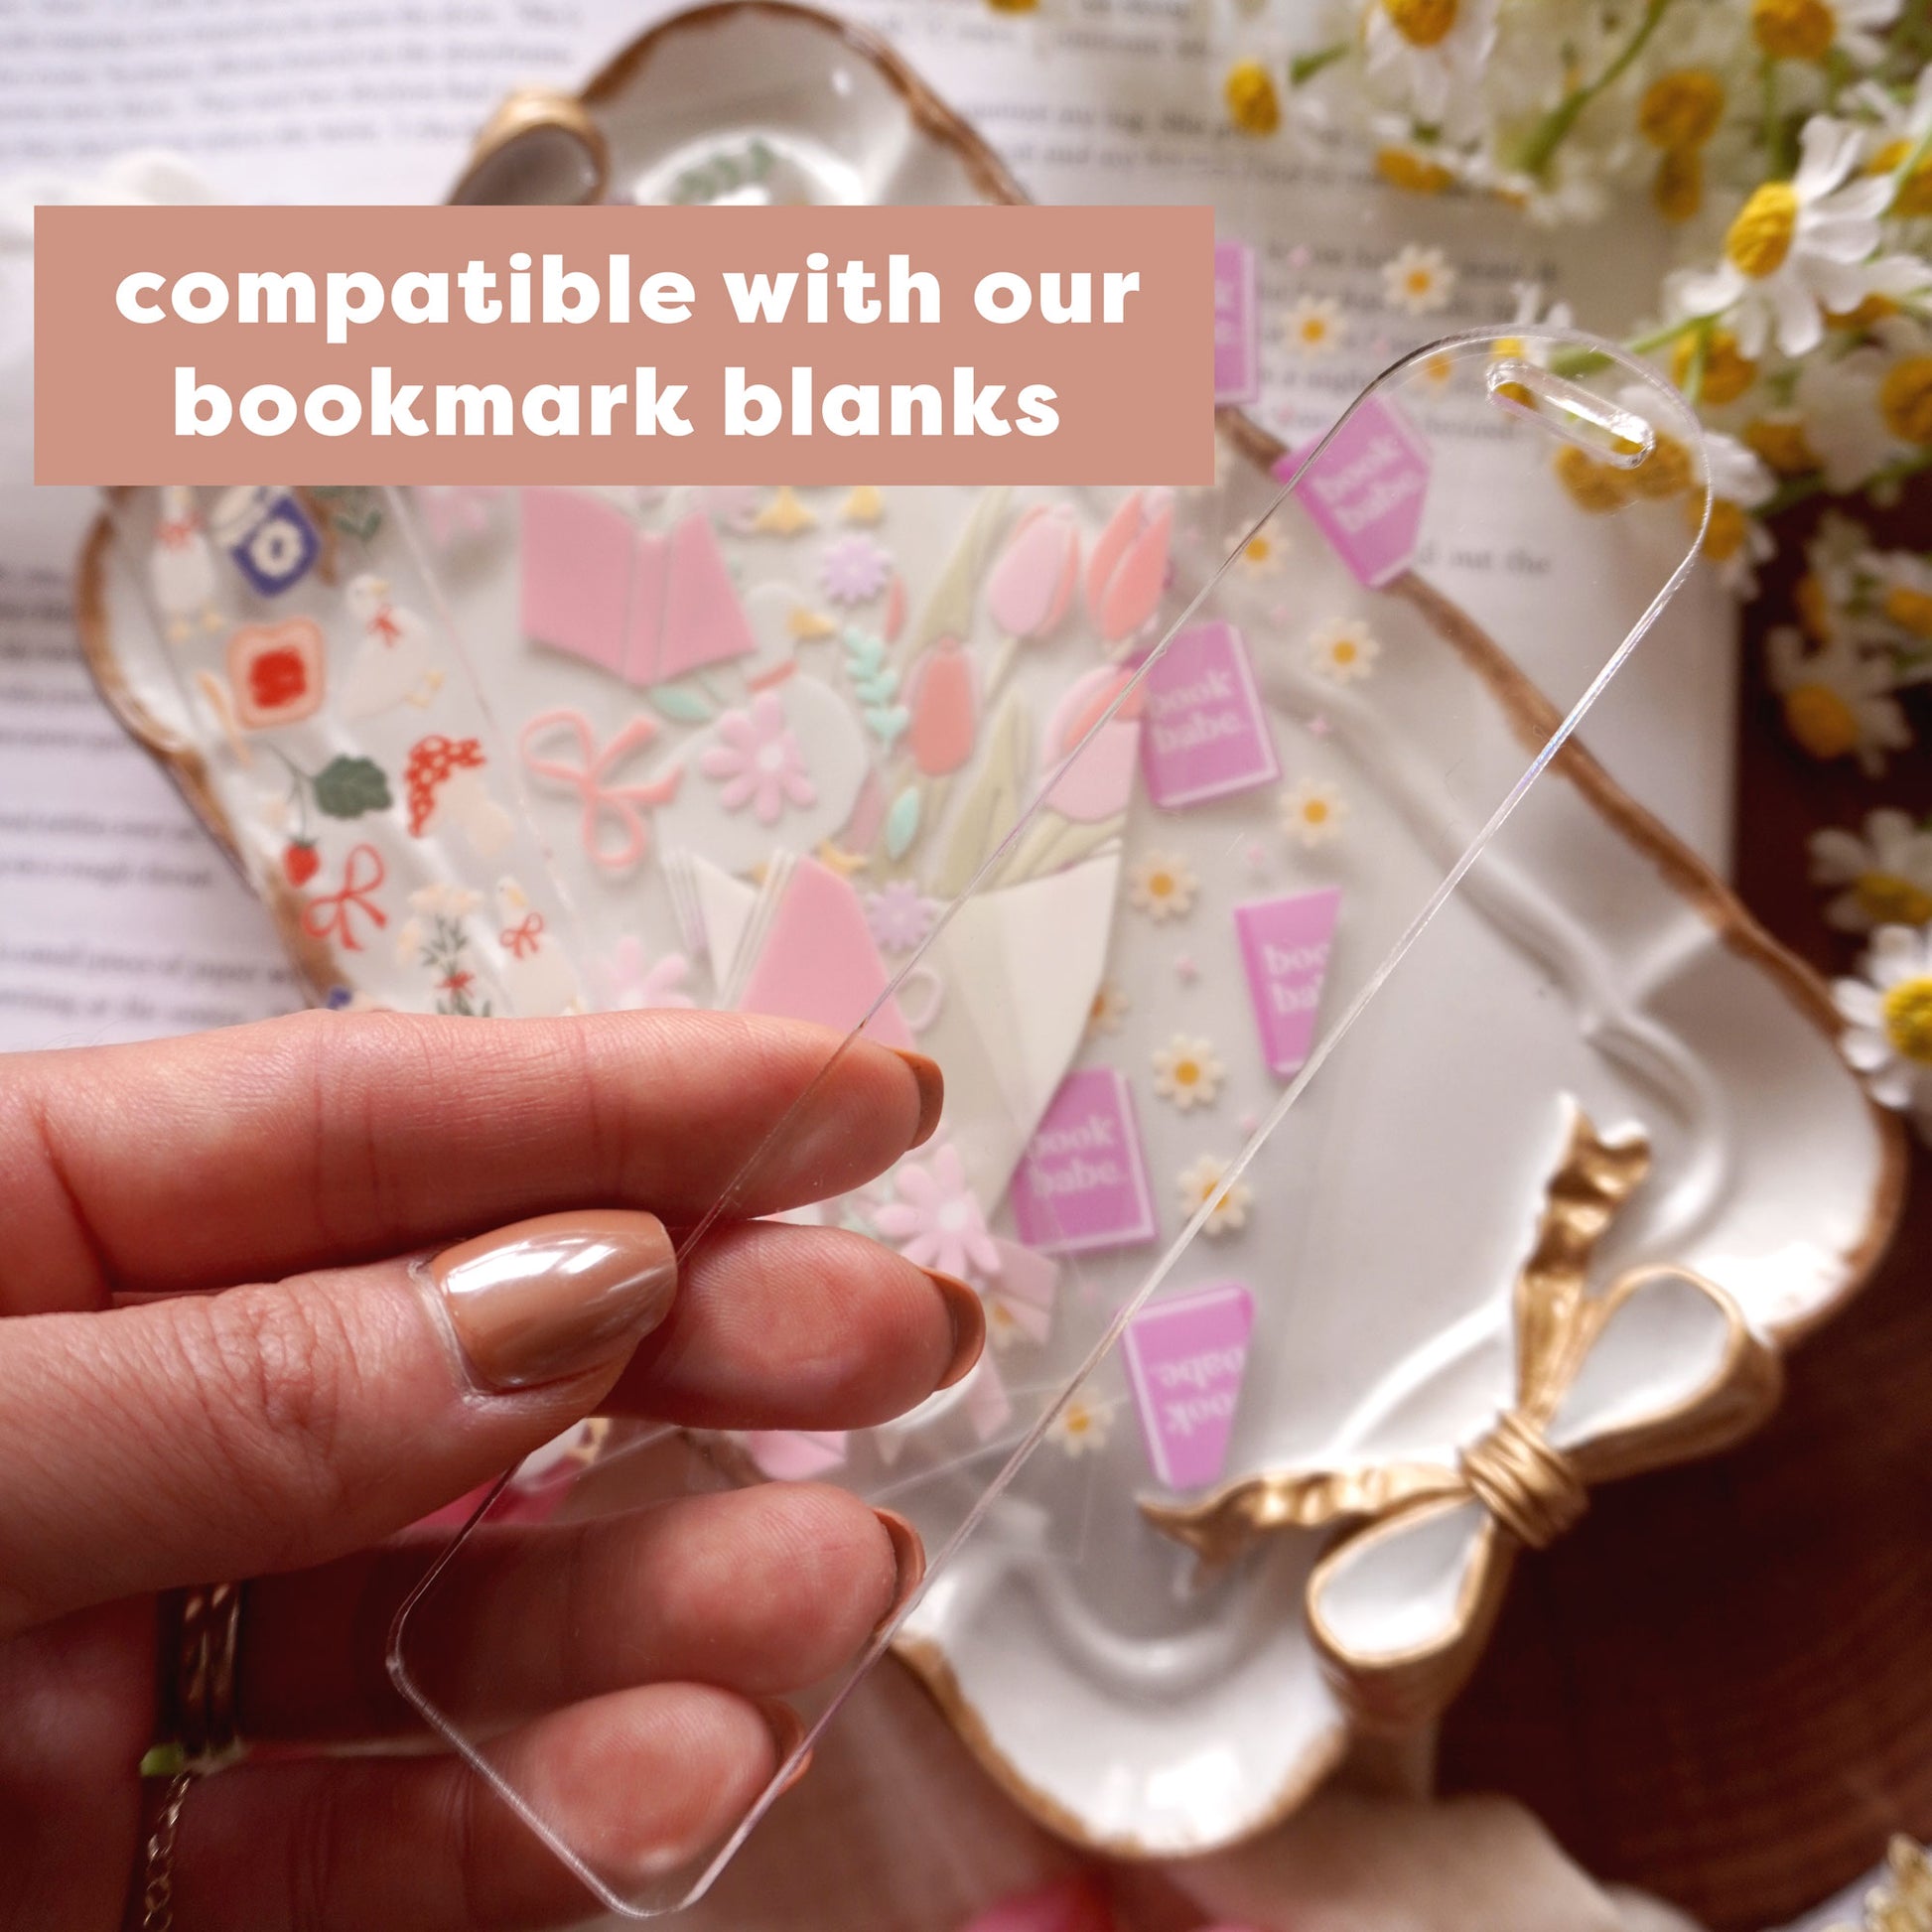
These decals are specifically designed to fit our bookmark acrylic blanks.
While you are welcome to use them on other surfaces / blanks if you choose to do so, please note that it will be at your own risk. We do not offer refunds or replacements for any issues arising from the use of these decals on surfaces other than our specified blanks.
- CAN I SELL THEM IN MY STORE? -
Yes, absolutely! If you purchase this decal from us and create cups, you can sell them as your own product. However, there are a few things to note:
- Re-selling the decal as a standalone item is not allowed.
Shipping & Returns
Shipping & Returns
Shipping for US is free for order $65+. No Shipping cost will be added for digital item purchases.
![[ Double Sided ] Bookmark UV DTF Decal | Labrador Bow](http://store.caluyadesign.com/cdn/shop/files/Mockup-Recovered-2-Recovered-Recovered.jpg?v=1733268449&width=1445)
![[ Double Sided ] Bookmark UV DTF Decal | Labrador Bow](http://store.caluyadesign.com/cdn/shop/files/IMG_0661.jpg?v=1733268449&width=1445)
![[ Double Sided ] Bookmark UV DTF Decal | Labrador Bow](http://store.caluyadesign.com/cdn/shop/files/main03_9f0151e8-c3b5-4abe-a99d-866525b9a3f4.jpg?v=1733268449&width=1445)
![[ Double Sided ] Bookmark UV DTF Decal | Labrador Bow](http://store.caluyadesign.com/cdn/shop/files/Sizing_47da0f54-ae2e-488d-9f74-03613f7c5e4d.jpg?v=1733268449&width=1445)
![[ Double Sided ] Bookmark UV DTF Decal | Labrador Bow](http://store.caluyadesign.com/cdn/shop/files/main01_02c09aa0-dd19-4630-aad1-91f5fc05e2d2.jpg?v=1733268449&width=1445)
![[ Double Sided ] Bookmark UV DTF Decal | Labrador Bow](http://store.caluyadesign.com/cdn/shop/files/main02_06e58697-857a-4e31-aa97-04384f46d5be.jpg?v=1733268449&width=1445)

![[ Double Sided ] Bookmark UV DTF Decal | Labrador Bow](http://store.caluyadesign.com/cdn/shop/files/Mockup-Recovered-2-Recovered-Recovered.jpg?v=1733268449&width=1946)
